Best Paint For Kitchen Walls And Ceiling
Kitchens are wet and messy spaces. There will be sticky dust, airborne dirt, grease, and moisture in the air nearly all the time in your kitchen.
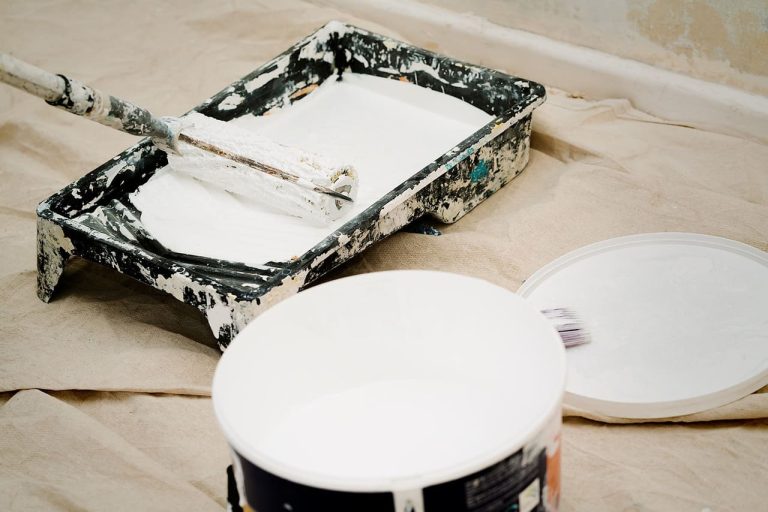
To get the best finish on your walls, ceiling, and cabinets, you will need to start with cleaning, follow up with prep, patch, prime, and paint with the right topcoat.
Tips On Painting A Kitchen
You will probably want to clean your kitchen walls with a degreasing soap. Dish soap and warm water will work, but you will need to rinse the walls once you’ve got them washed. Dry time is also extremely important.
If you’re doing a lot of patching or getting rid of ceiling popcorn, make sure you mask the rest of the house.
Consider hitting your ceiling with an eggshell finish instead of satin. Working over your head is never comfortable and it can be hard to get consistent pressure on your roller and pole.
It can also be challenging to get clean brushwork around light fixtures and along with the corners. If you need to dip down onto the wall a bit, a satin finish will accept the wall semi-gloss more effectively than trying to paint over a satin finish paint.
How To Choose Paint For The Kitchen
Kitchen paint will have at least a slight sheen. Since you’re already fancying things up with a bit of shine, why not choose a bold color for at least a part of the space?
For example, you could use a bright color behind the stove or above the countertop where the coffeepot and the InstantPot live. Constant moisture will be easier to manage on top of a shiny paint topcoat.
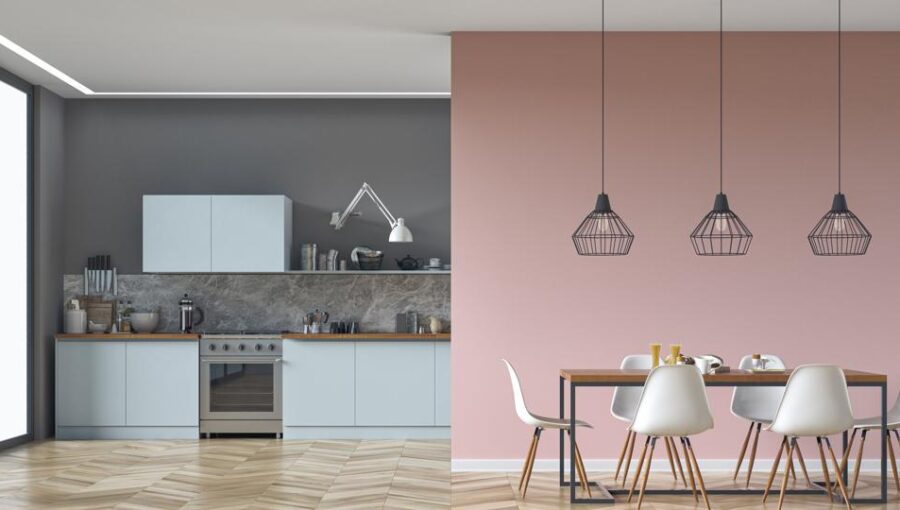
If you have an open concept home and are concerned about a paint line where the satin-finish kitchen paint meets the corner of velvety wall paint, consider adding a piece of wooden corner trim on an outside corner.
You can paint it to match your cabinets, the trim of your house, or just paint it a simple flat white.
If the two lines are meeting at an inside corner, simply light away from this corner. If you’ve always wanted a metal pot stand for your favorite copper pieces, put it in the corner to cover up the paint line.
The Best Type Of Paint For Kitchens
Oil paint is a durable product that will last through many items of washing. However, unless you can have your house opened up and fans blowing, the fumes from oil paint can build up quickly.
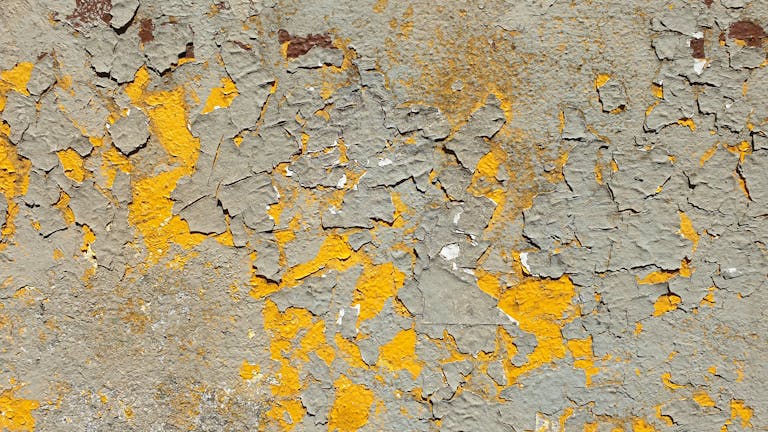
There are many other paints that have a lower VOC level than oil paint. If you know whether the last coat was oil or latex, don’t switch formulations. Latex over oil makes for a terrible finish. The whole room will crackle and flake until you give up and scrape it.
No matter what product you use, the prep work will have a huge impact on the eventual finish. If you’re planning to sell, don’t rush. Patch the holes, sand, prime the patches, and then paint.
The Best Paint Finishes For Kitchens
The flatter the paint, the harder it is to clean. Your living and bedroom can have a lovely velvet finish. If you do that in the kitchen, you will have a finish that is really tough to dust and clean. It will look dirty and dingy in a hurry.
Because kitchen and bath paint generally has a sheen, look for a knit or velvety roller cover. Keep even pressure on the roller from top to bottom; don’t use a long pole unless you have to for the extra reach.
Pushing harder in the middle of the stroke will impact how evenly the paint lays and may lead to odd patterns of light reflection. It will look like you missed a spot when you really mashed a spot.
Further Watching:
Different Tactics Of Painting A Kitchen
The biggest decision to make is whether or not you’re painting the cabinets. Cabinets add a large layer of prep to get a great finish. You will need to
- Degrease the cabinets
- Sand the finish for best grab
- Clean the sanded finish
- Prime the freshly cleaned cabinet material
- Paint and seal
You will also want to work in lots. For example, you really don’t want to be sanding in the same space you’re painting. You will probably need an “out of kitchen” space for this part of the project. Sanding is messy and cleaning freshly sanded wood may take mineral spirits, which are smelly.
Do invest in good quality sanding tools, especially if the cabinet doors are beveled.
Once you get the doors off, take them out so you can lay them flat. You’ll get a much better quality finish if you can roll on the primer and paint with a fine foam roller on a flat surface. So it can dry completely before you flip the door to do the other side.
While the doors are off and the paint is drying, you can get busy on the kitchen walls. Unless you’re excited about emptying the kitchen cabinets, don’t. Cover the contents of your kitchen cabinets with plastic sheeting so your dishes and dry foods don’t get dusty, the
- sweep the walls
- wash from ceiling to floor
- rinse in the same pattern
- once the walls are dry, patch
It’s very tempting to paint right over a small patch. However, you will not get the best finish over those patches, and the glossier the paint. The more any unevenness on the patch will show up in the top layer of paint.
Always prime your sheetrock and plaster patches. Yes, that means that some painting projects use two tablespoons of primer. Buy a little can so you can easily shake it up.
If you can set up a cabinet door zone outside of the kitchen, you can easily move back and forth between cleaning up the walls and putting primer on the cabinet doors, for example. Try not to get in your own way when you pull the cabinet doors off.
Written by Taylor McKnight, Author for FlashHouse.

